After hearing Brett from Designjoy on The Startup Ideas Podcast talk about his AI design workflow, I felt validated that many of the lessons I’ve learned through designing this blog align so closely with someone doing this full-time with real success and design experience.
In this article, I want to share key insights from Brett’s episode alongside what I’ve discovered works, what doesn’t, and which tools actually deserve your time.
Here’s my breakdown of the AI design tools I use daily—plus the workflow that’s helped me create professional-looking content without a design background.
TL;DR
- Midjourney handles style and visual concepts better than anything else I’ve tried
- ChatGPT keeps me consistent with prompts and helps refine ideas
- Claude writes the most detailed prompts for specialized tools like Runway
- Napkin.ai turns data into clean infographics faster than manual design
- Canva still has its place for custom layouts and final touches
- The real secret isn’t the tools—it’s building a consistent workflow
Why I Started This AI Design Journey
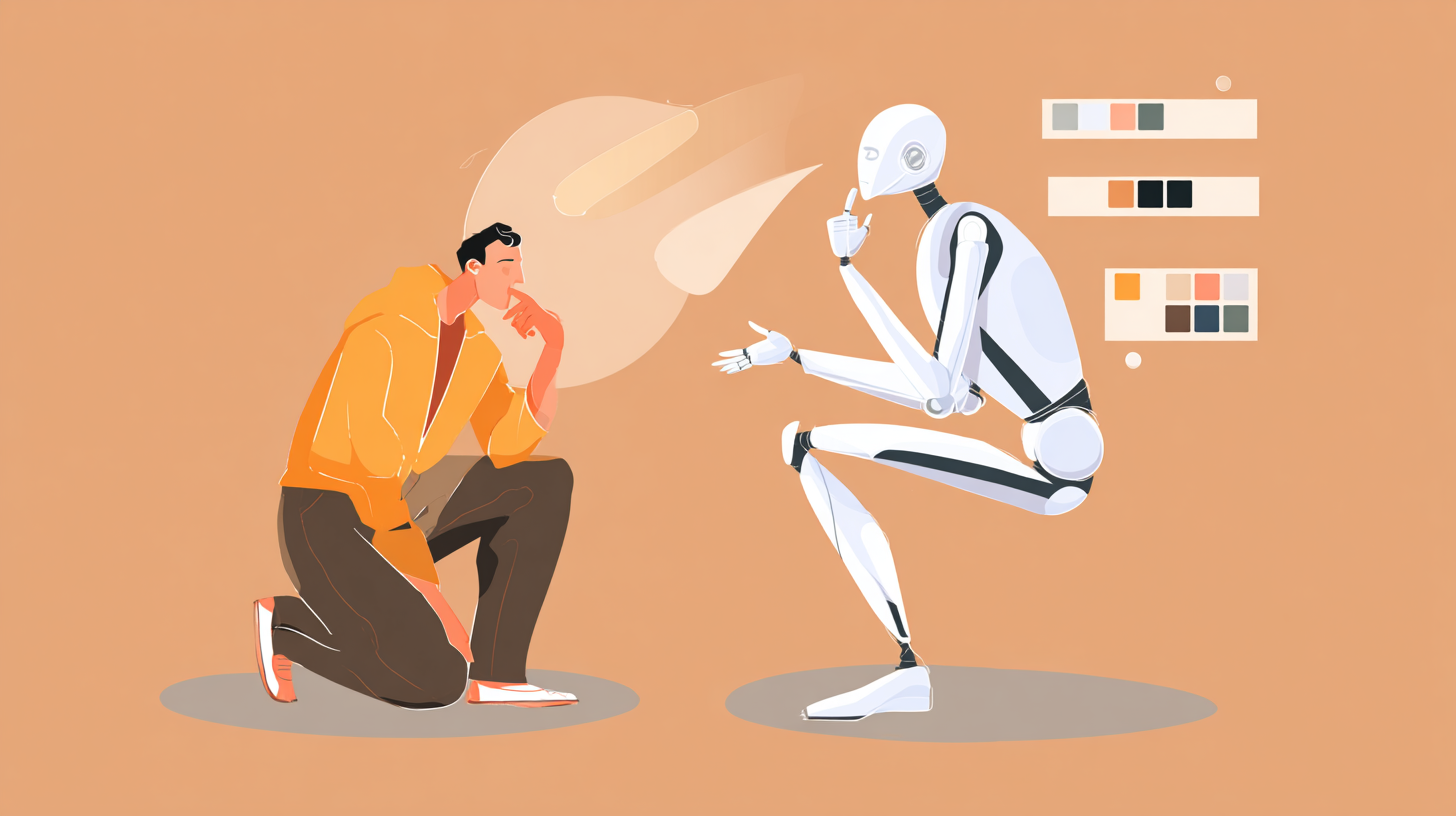
I am artistically challenged when it comes to physically putting pen to paper. I love brainstorming with AI and giving it my ideas to begin riffing off each other and coming up with a product that feels satisfying. For me its most often a graphic or image for this blog, like my feature image up top. When I heard Brett’s episode, something clicked. If he could create professional-grade assets in minutes, maybe there was a middle ground between stick figures and expensive design work.
So I tested his approach—and then built my own system around the tools that actually fit my workflow.
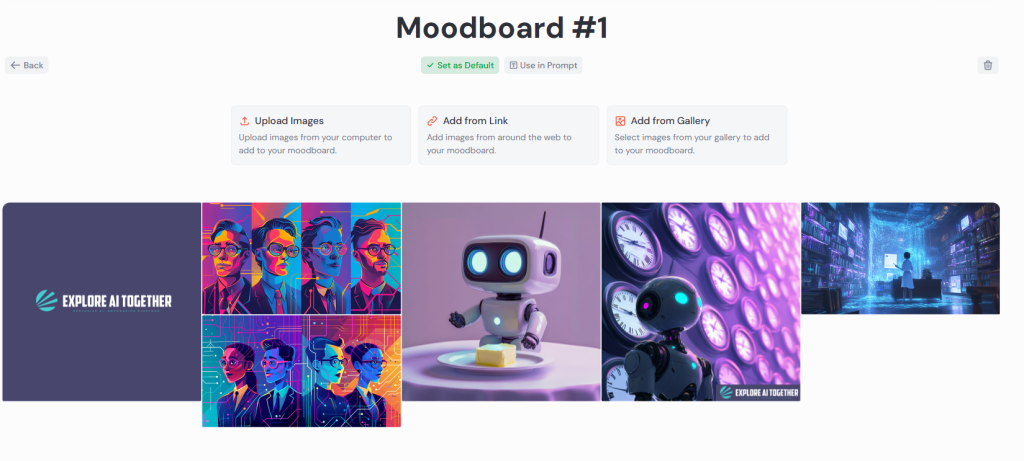
My biggest take aways from this episode are to use personalization and mood boards to promote consistency across designs. Midjourney is so good at style but it struggles with consistency and precision. ChatGPT is catching up on style but can be very vanilla and boring. Having Mood Boards and a global profile set-up in Midjourney is a great way to guide this tool to match your design and/or brand aesthetic.

The Tools That Actually Made a Difference for Me
After trying dozens of AI design tools, here’s what stuck:
Midjourney became my go-to for style and mood. It’s not perfect, but when you need a specific aesthetic or want to explore visual directions quickly, nothing beats it. I use it mostly for establishing the visual tone of projects.
ChatGPT handles the heavy lifting on prompts. Instead of guessing what words will get me the result I want, I describe what I’m looking for and let ChatGPT craft the actual prompt. This alone saved me hours of trial and error.
Claude writes incredibly detailed prompts for specialized tools. When I need something animated in Runway or want very specific results from other platforms, Claude’s prompts are more thorough and typically more successful.
Napkin.ai surprised me the most. I was manually building infographics in Canva, which took forever. Napkin turns data or concepts into clean, professional infographics in seconds. It’s become essential for any content that needs visual data representation.
Canva still earns its place for custom layouts and final touches. While AI handles the heavy creative lifting, Canva’s where I add text overlays, make final adjustments, and ensure everything looks polished.
What My Actual Workflow Looks Like
Here’s how I approach most design projects now:
First, I define the style in Midjourney. I’ll create 3-4 variations of the visual direction, then pick the one that feels right. This gives me a clear aesthetic foundation.
Next, I use ChatGPT to refine my prompts. I describe what I want to achieve, and it helps me craft language that gets better results from whatever tool I’m using next.
For complex prompts—especially animations or very specific requirements—I switch to Claude. It writes more detailed, nuanced prompts that tend to produce exactly what I’m looking for.
If I need infographics or data visualization, Napkin.ai handles that quickly. I input the information, pick a style that matches my Midjourney aesthetic, and it generates clean, professional results.
Finally, I bring everything into Canva for final assembly, text additions, and any custom touches that need a human eye.
The Surprising Lessons I Learned
The biggest revelation? Consistency matters more than perfection. Having a clear visual style (established in Midjourney) makes everything else easier. Even if individual elements aren’t perfect, maintaining visual consistency makes the final result look professional.
Learning to use AI tools to generate prompts has turned anyone into a prompt expert. The difference between mediocre and great AI-generated visuals often comes down to how well you communicate what you want. ChatGPT and Claude have become my prompting assistants, which dramatically improved my results.
Different tools excel at different things. I wasted time trying to make one tool do everything. Midjourney for style, Napkin for data visualization, Canva for layout—each has its sweet spot.
Speed compounds over time. Individual tasks might only save 15-30 minutes, but when you’re creating content regularly, those savings add up. I can now produce visuals in an hour that would have taken me days manually.
What Actually Works for Beginners
If you’re just starting with AI design, here’s what I’d recommend:
Start with ChatGPT and Midjourney and spend time learning to describe visual styles clearly. This foundation will improve everything else you create.
Use ChatGPT to help write better prompts. Don’t struggle with prompt engineering alone—let AI help you communicate with AI.
Try Napkin.ai for any data visualization needs. It’s intuitive and produces professional results quickly. For now, it’s still in beta and free but that may change at some point.
Keep Canva in your toolkit for final touches and custom layouts. AI handles the creative work, but you’ll still need a tool for precise control.
Use GIMP or Photoshop for really manual photo edits.
I don’t yet know any video editing software Runway is used for AI video creation. To add text on top you want to use other standard tools for video editing manually like Capcut (and apparently Canva has video editing as well).
Focus on building a consistent workflow rather than chasing every new tool. The magic happens in the combination and consistency, not in having the latest app.
The Reality Check You Need
AI design tools aren’t magic. They won’t turn you into a professional designer overnight, and they won’t solve every visual challenge you face.
What they will do is dramatically lower the barrier to creating good-looking content. If you need professional visuals but don’t have the budget for constant design work, these tools bridge that gap effectively.
The learning curve is real but manageable. Expect to spend a few weeks figuring out what works for your specific needs. But once you have a system, the time savings and creative possibilities make it worthwhile.
After five months of using these tools almost daily, I can confidently say they’ve changed how I approach visual content. Not because they’re perfect, but because they’re practical, accessible, and genuinely useful for creating better visuals faster.

